Using the Webroot user interface
Webroot SecureAnywhere is a Cloud Anti-Virus product provided to customers of Cloud Direct. Webroot Endpoint (agent) management is often done remotely through a management console. However, if required, Webroot users may view or manage their own individual Endpoint locally, using the Webroot SecureAnywhere user interface. To gain access to the user interface, the Endpoint user must be assigned to a policy that allows access. (The default policy, generally used for non-administrator Endpoints, does not allow this).
This article explains how to use the Webroot SecureAnywhere user interface. It contains the following sections:
Important Note:
If your Webroot SecureAnywhere community is currently managed remotely by the Webroot Endpoint Security Console then all changes need to be applied centrally. As a result, at the user interface you will have view-only permissions for many of the settings. You will however still be able to initiate a scan manually.
Prerequisites
This article assumes that:
- You have the Webroot SecureAnywhere Endpoint installed.
- Your Endpoint has been assigned to a Webroot policy that allows access to the user interface. Note, if you are using a policy that does not allow access then, any attempt to access the interface will fail and you will receive a message requesting you contact your administrator.
If you do not meet these prerequisites, please contact your site administrator, or email Cloud Direct at techservices@clouddirect.net.
Accessing the user interface
To access the user interface, proceed as follows.
- From your system tray, double click on the Webroot icon. Note that you may first need to click on the up-arrow to reveal hidden icons, as in the illustration below.
![]()
Note:
You may have the alternative option of clicking a Webroot icon on your desktop. If you cannot locate the Webroot icon on your desktop or on your system tray, then, from the Windows Start menu, select All Programs > Webroot SecureAnywhere > Webroot SecureAnywhere. (This may differ slightly depending on your version of Windows).
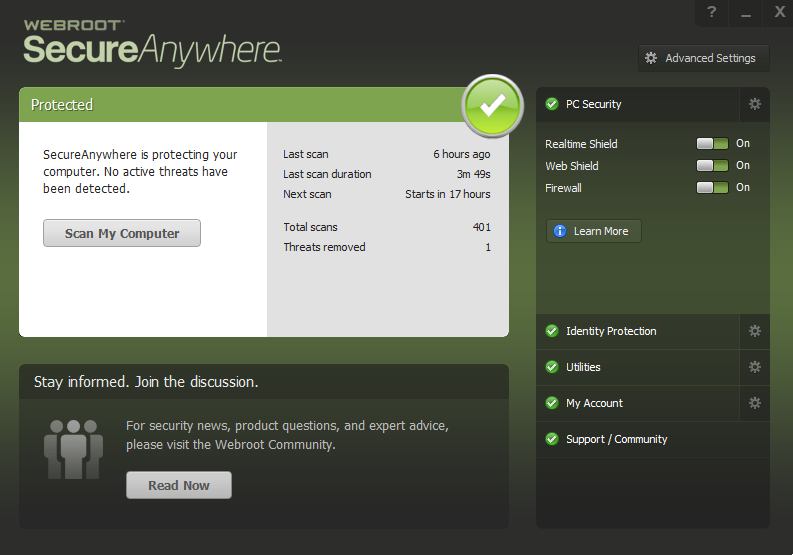
The Webroot SecureAnywhere user interface opens on the main page.
Navigating the user interface
The main page is divided into three sections:
- Protected panel
- Message window
- SecureAnywhere features
These sections are described in the following paragraphs.
Tip:
No matter where you are within the user interface, you can return to the main page by clicking on the SecureAnywhere logo in the upper left hand corner of the screen.
Protected panel
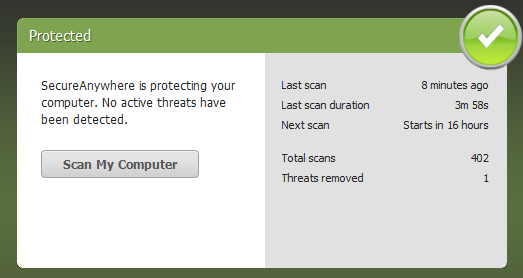
This panel displays information about system scans. You can manually scan the system any time by clicking the Scan My Computer button. The default scan schedule is set to run daily at the time you installed the software.
Message window

The panel at the bottom left displays changing messages about virus alerts and other important information from Webroot. Click Read Now to access the Webroot Community through your browser.
SecureAnywhere features

The right side of the main window provides links to Advanced Settings and SecureAnywhere features.
To expand a section of the panel, click the feature name. To view options related to each feature, click the associated gear icon to the right of the feature name. Advanced Settings, and the SecureAnywhere features are briefly described below. For more information, refer to the Webroot online help by clicking on the question mark icon in the top right hand corner  , or, on many of the expanded features, click the Learn More button
  .
.
Advanced Settings
Click on Advanced Settings to open the Settings page.
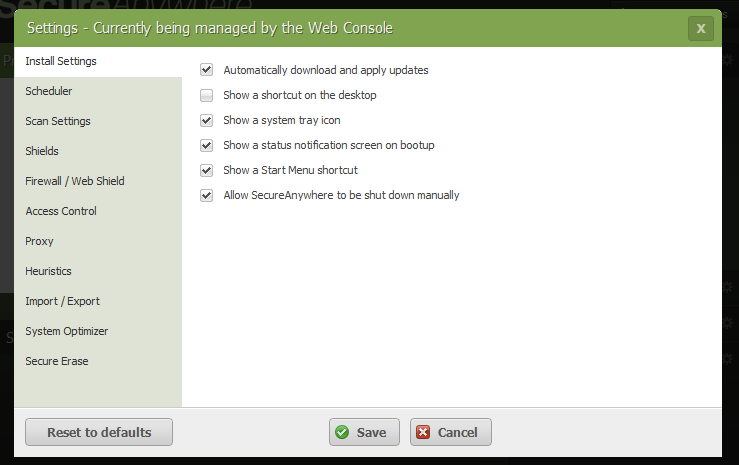
The left hand pane lists the settings categories. The right hand pane shows settings available within the chosen category. Click on another category, to see other available settings. If you have sufficient permissions, you can make changes, then click on the Save button to save them.
Important Note:
If your Webroot SecureAnywhere community is currently managed remotely by the Webroot Endpoint Security Console then all changes need to be applied centrally. As a result, at the user interface you will have view-only permissions for many of the settings.
PC Security
Click on the PC Security feature name to expand this section of the panel.
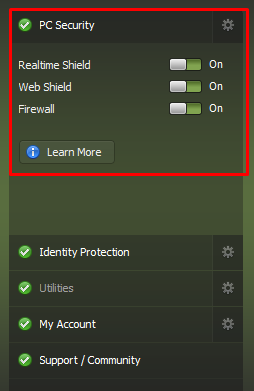
Click the gear icon to the right of the feature name to view options related to this feature.
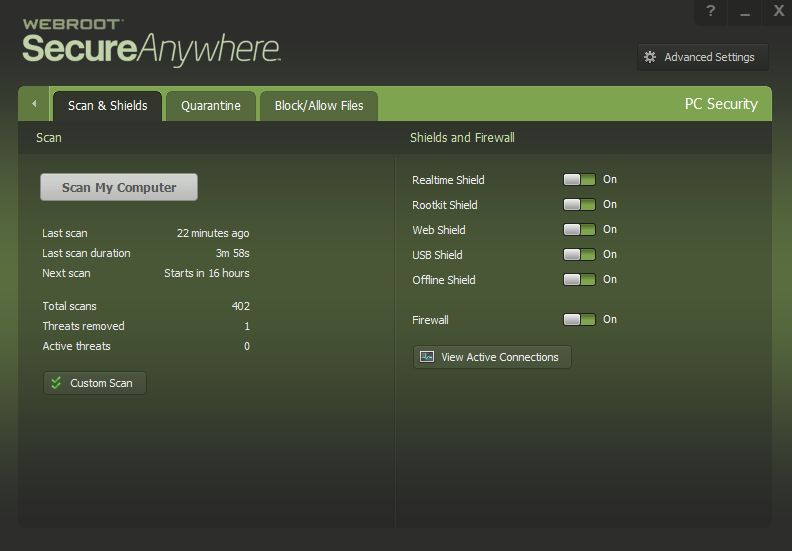
Click Scan My Computer to initiate a default scan, or click Custom Scan, and choose the type of scan you'd like to run. If you have sufficient permissions, you can make changes to settings in Scan & Shields, Quarantine, and Block/Allow files.
Return to the main page by clicking on the SecureAnywhere logo in the upper left hand corner of the screen.
Identity Protection
Identity Protection settings protect sensitive data that may be exposed during your online transactions. Click on the Identity Protection feature name to expand this section of the panel.
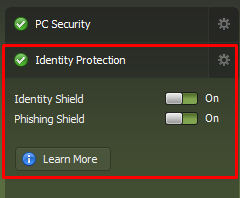
Click the gear icon to the right of the feature name to view options related to this feature.
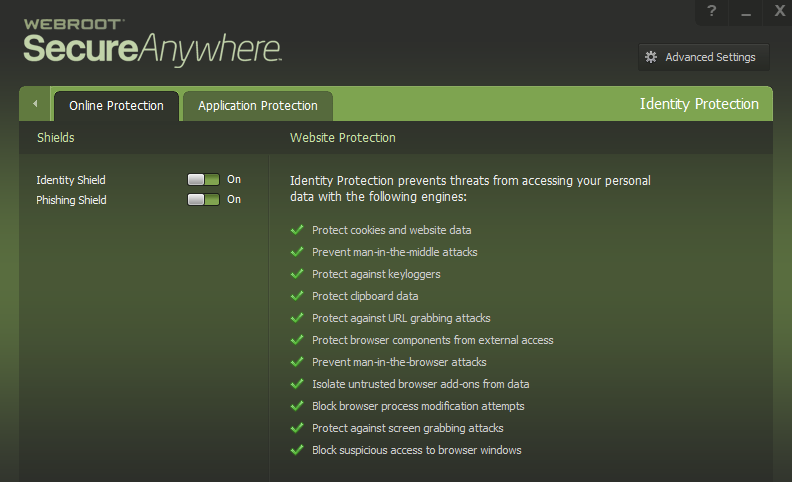
View your Identity Protection settings. If you have sufficient permissions, you can make changes to settings in Online Protection, and Application Protection.
Return to the main page by clicking on the SecureAnywhere logo in the upper left hand corner of the screen.
Utilities
Use Utilities to optimize your system, manage processes and files, view reports, or create a SafeStart Sandbox. Click on the Utilities feature name to expand this section of the panel.
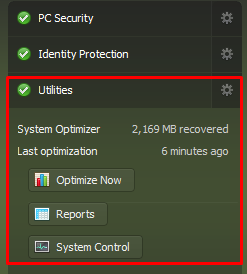
Click Optimize Now, to initiate a system optimization. Click Reports, or System Control to open additional pages. Click the gear icon to the right of the feature name to view options related to this feature.
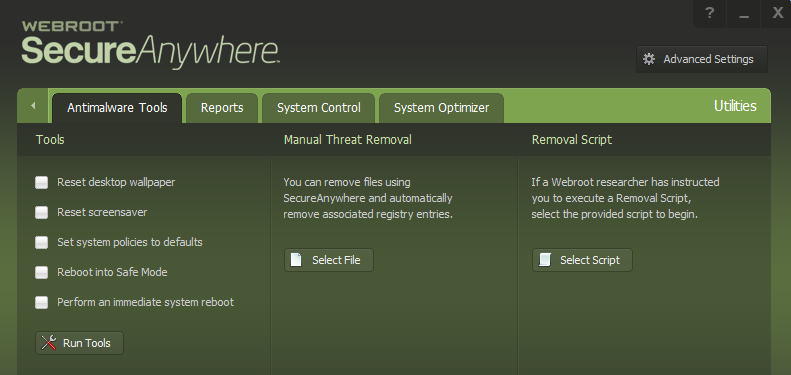
View your available Utilities. Use Reports, System Control, and System Optimizer. If you have sufficient permissions, you can also make changes to settings in Antimalware Tools.
Return to the main page by clicking on the SecureAnywhere logo in the upper left hand corner of the screen.
My Account
View your SecureAnywhere account information. Click on the My Account feature name to expand this section of the panel.
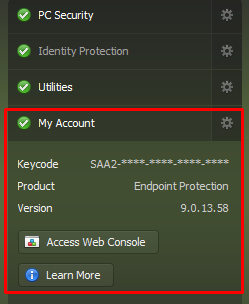
If you have sufficient permissions, click Access Web Console to access the web console.
Click the gear icon to the right of the feature name to view options related to this feature.
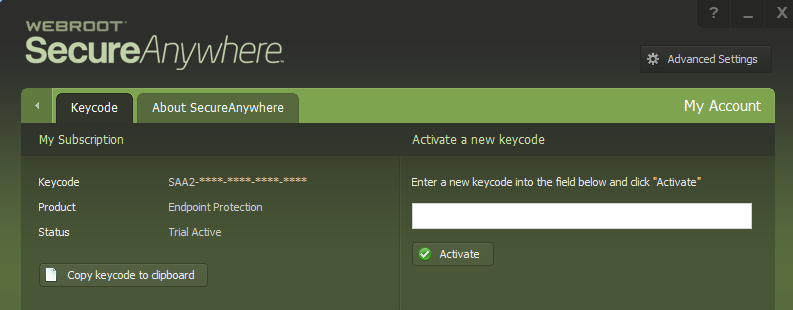
View your account details and Webroot SecureAnywhere version information. If you have sufficient permissions, you can also activate a new keycode from this page.
Return to the main page by clicking on the SecureAnywhere logo in the upper left hand corner of the screen.
Support/Community
View your SecureAnywhere account information. Click on the My Account feature name to expand this section of the panel.
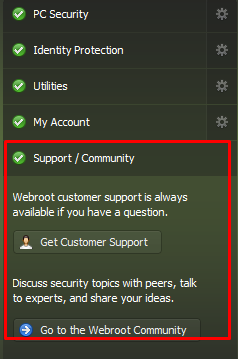
Click Get Customer Support to access Webroot's support website, or click Go to the Webroot Community to access a user community forum.
Note:
For help with Webroot issues, or any other service provided by Cloud Direct, contact support by emailing techservices@clouddirect.net or phone 0800 368 1831.


