


Customising your Provide Homepage Dashboard
Introduction
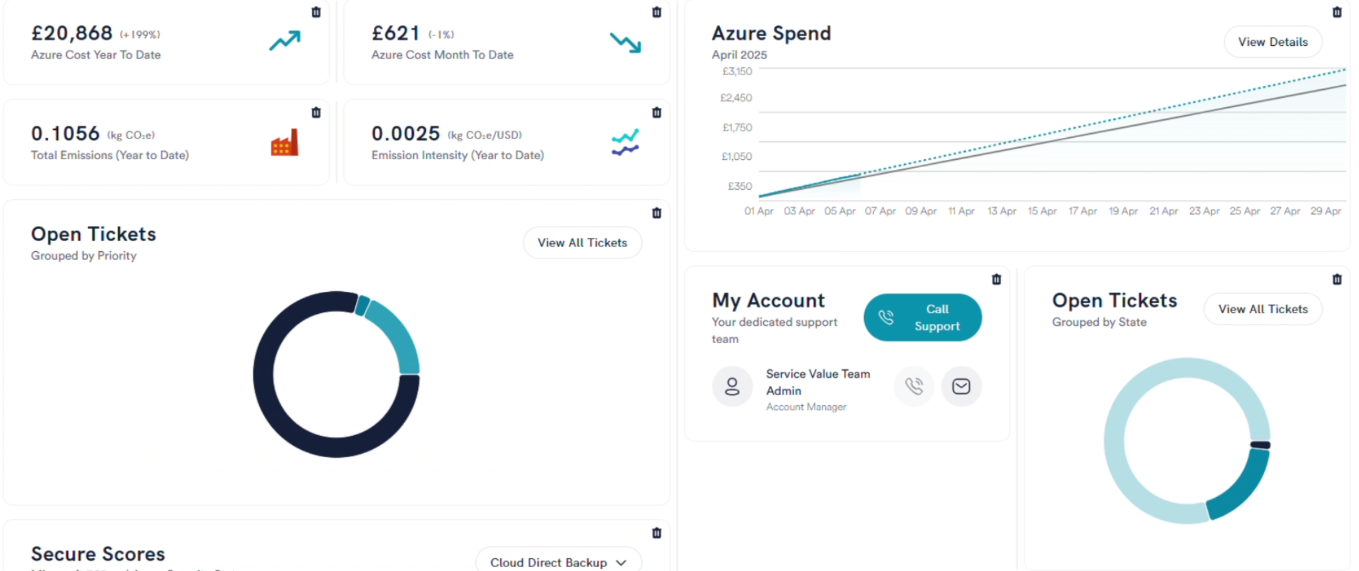
Provide users now have the ability to create their ideal dashboard, customised specifically to their individual priorities and preferences. This feature allows for a more personalised experience, ensuring that each user can focus on what matters most to them, by adding, removing, resizing, and rearranging dashboard tiles. This is a quick start guide to help users make the most of the new dashboard.
The new dashboard features include:
- Introduction of a fully configurable dashboard, including new tiles and a new default layout.
- Creation of a "Configuration Mode" to enable/disable layout editing.
- New functionality to add, remove, move, swap, and resize dashboard tiles.
- Addition of a "Reset Layout" option to revert to the default layout.
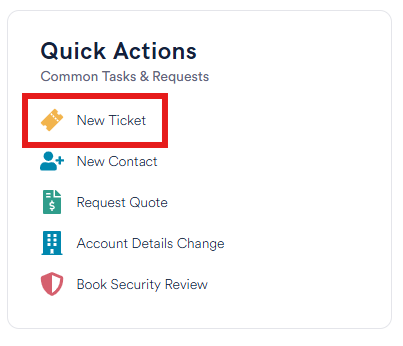
Please note that if you have previously made use of the Tickets table on the dashboard, you can access this view by clicking through to the Tickets page from any of the Ticket tiles on the dashboard. The 'New Ticket' shortcut can now be found within the 'Quick Actions' tile.
Configuration Mode
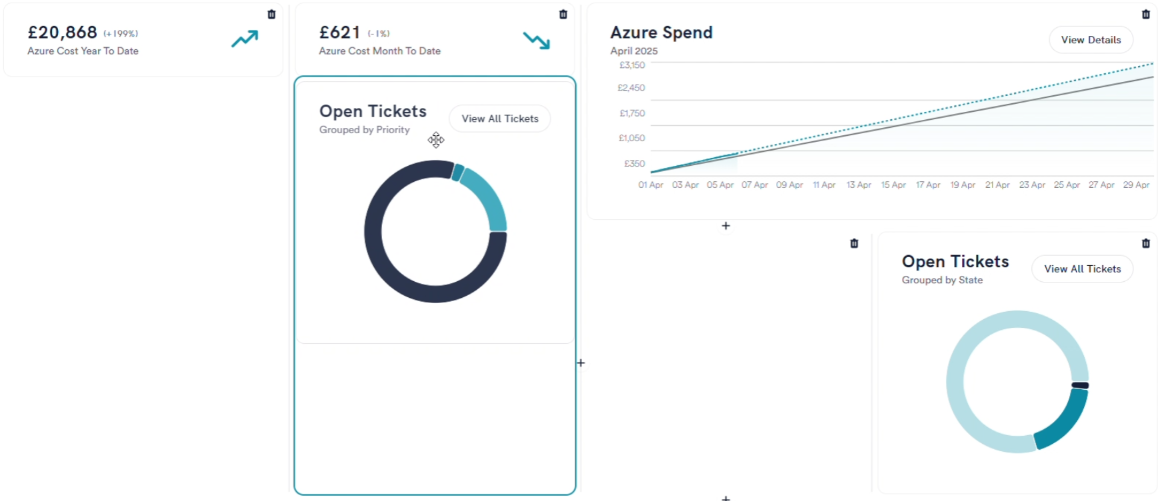
To make any changes to your dashboard layout, you must first enter Configuration Mode.
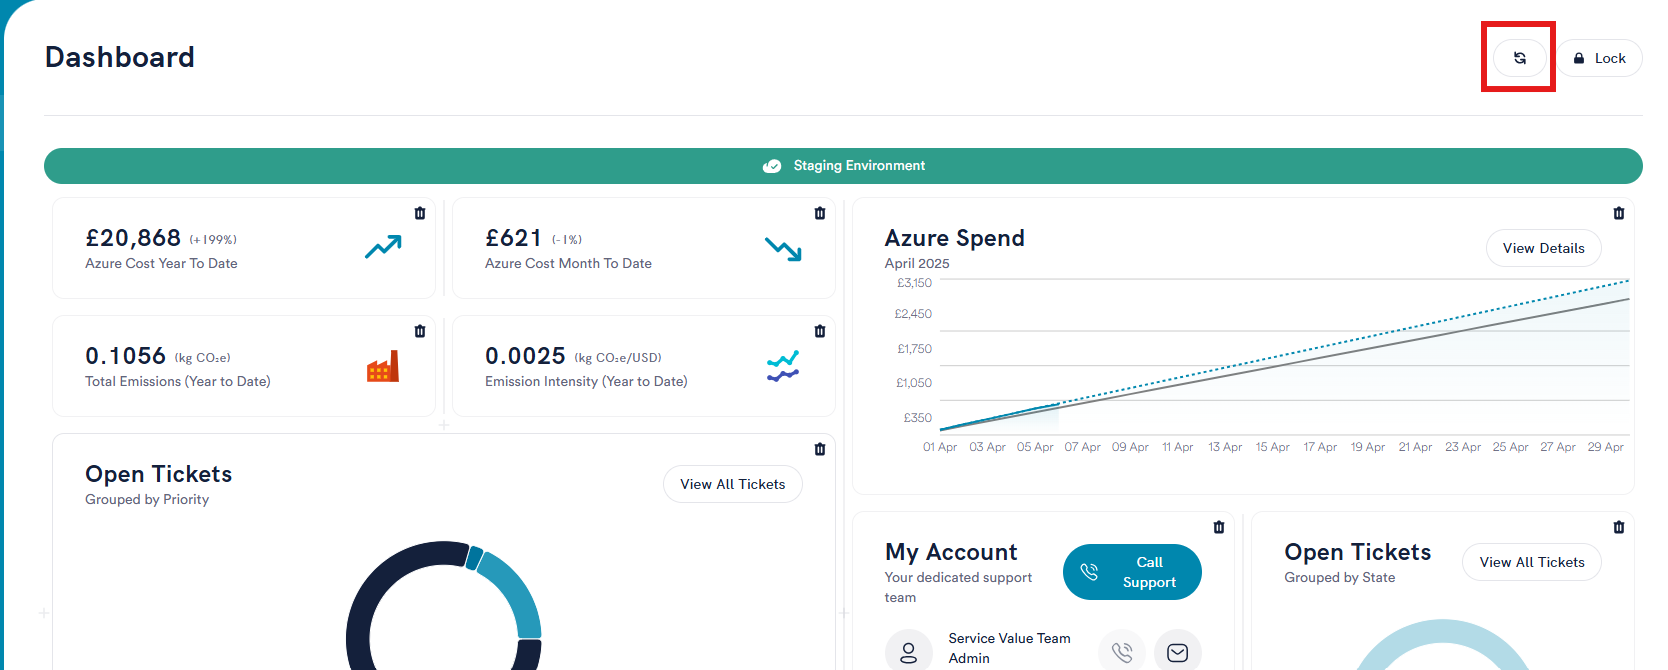
- Locate the Configure button at the top right of your dashboard screen.
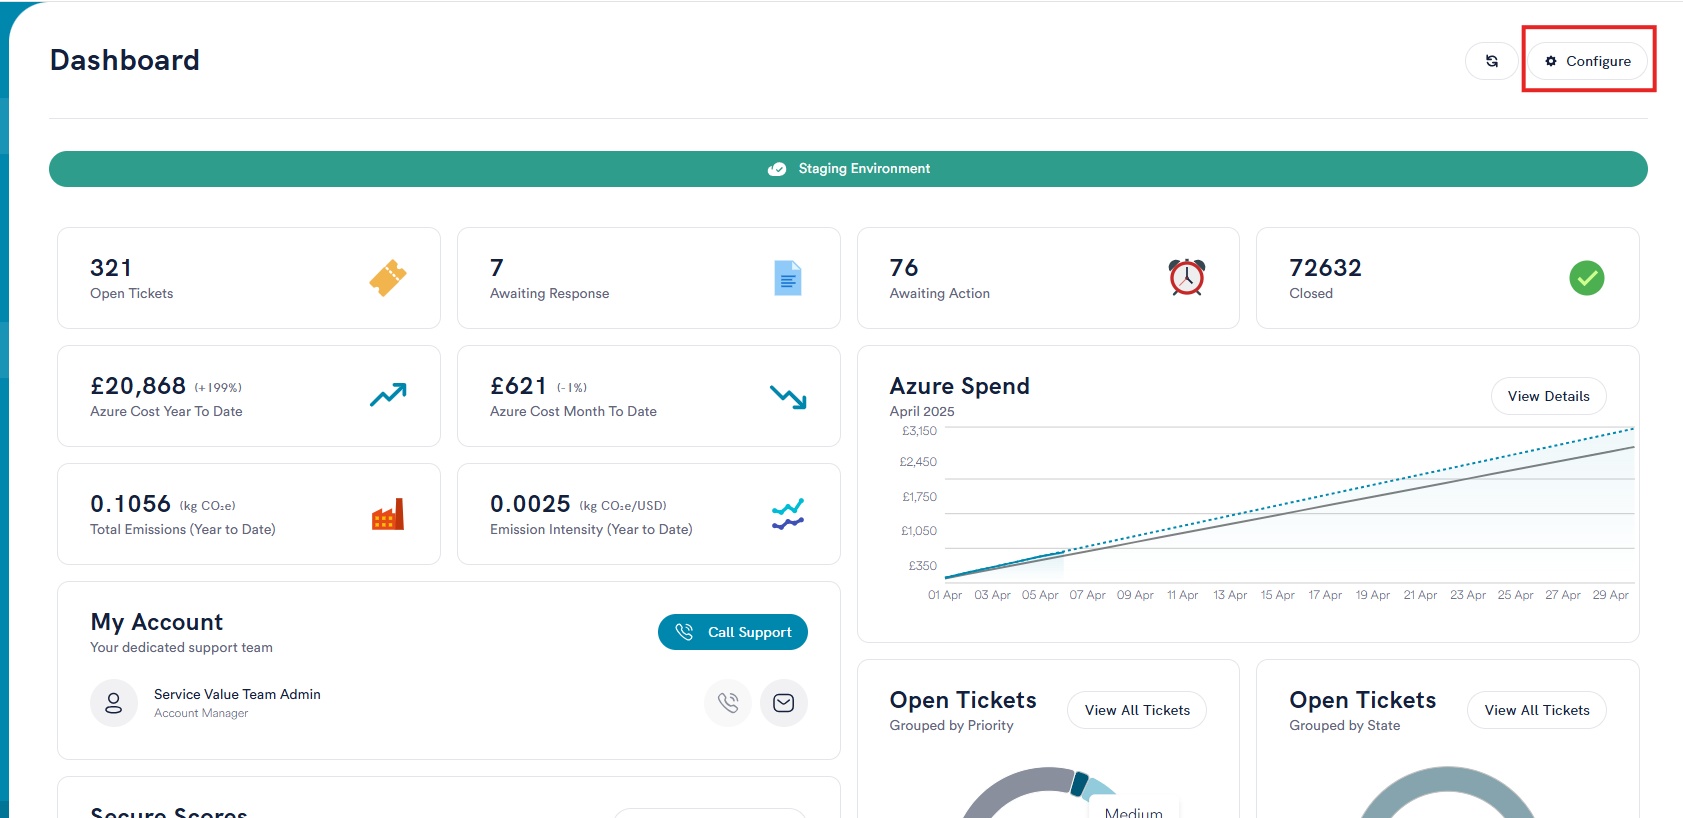
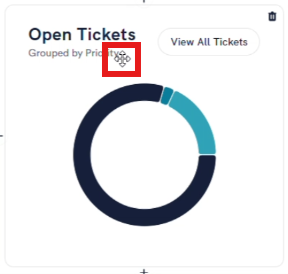
- Click the Configure button to switch into configuration mode. The dashboard may visually change slightly (e.g., icons appearing on hover) to indicate you are in edit mode.
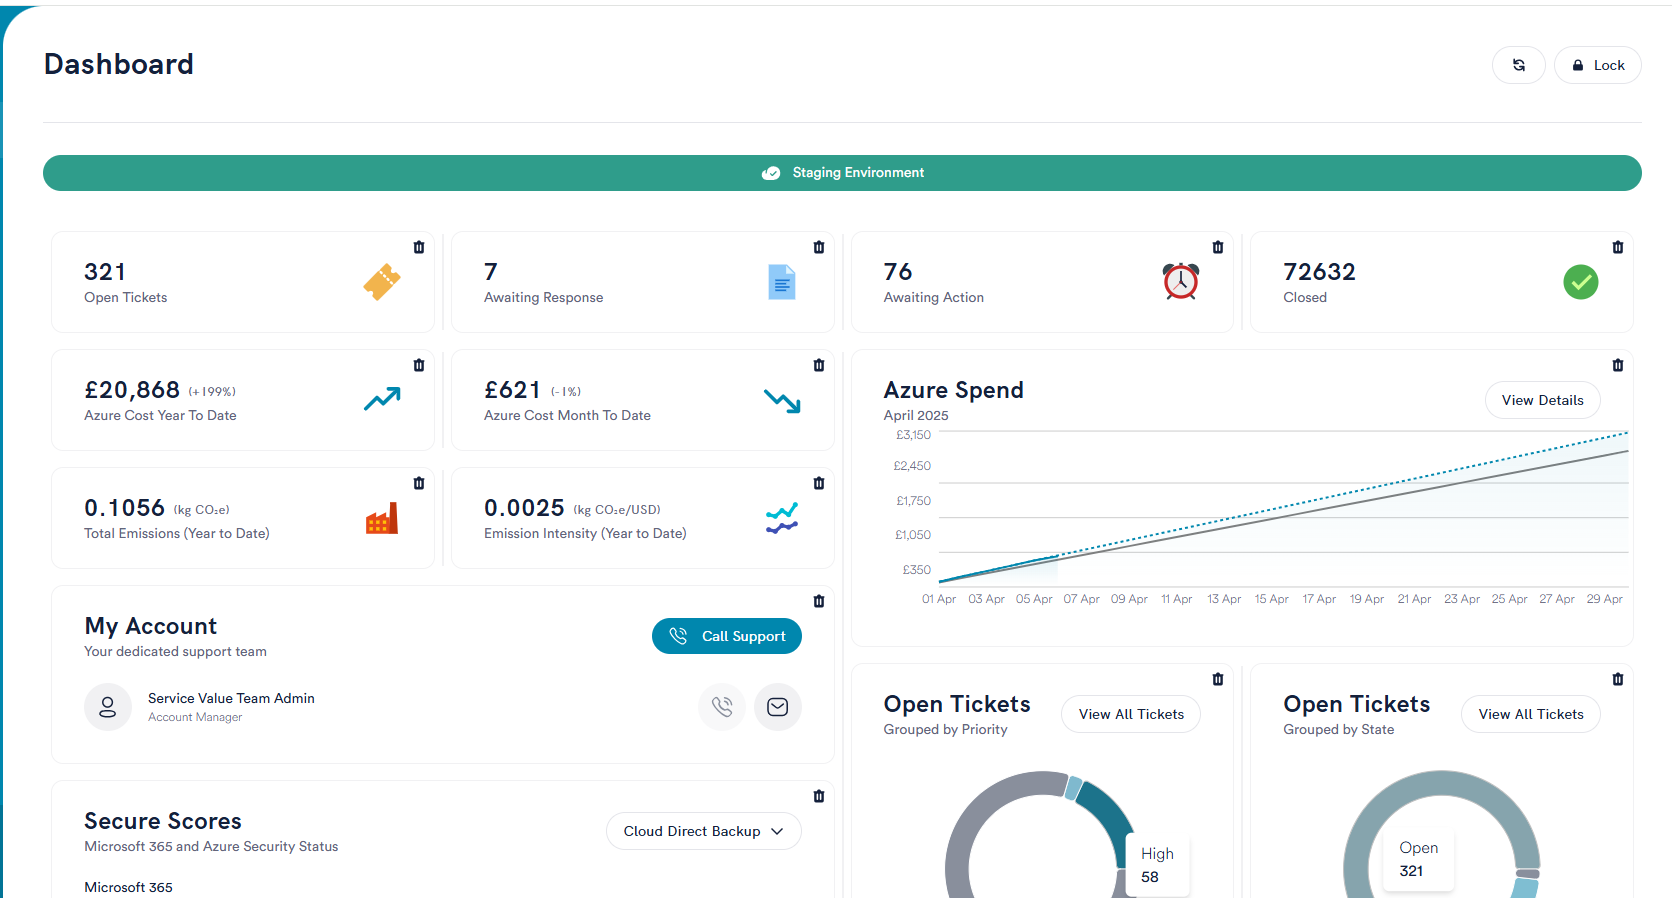
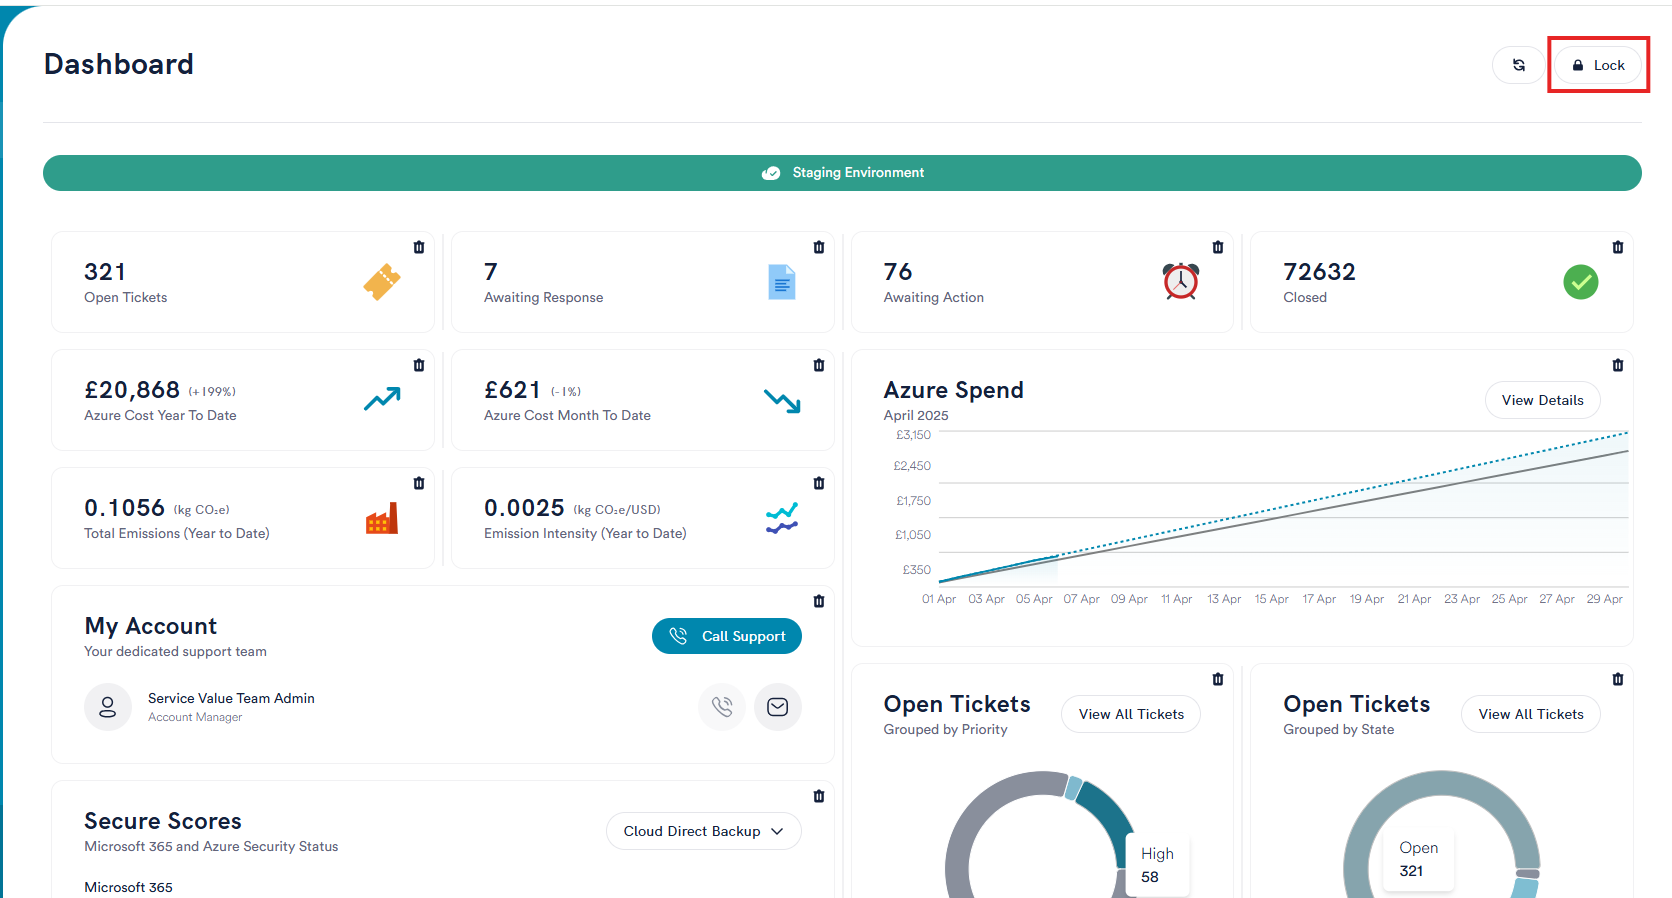
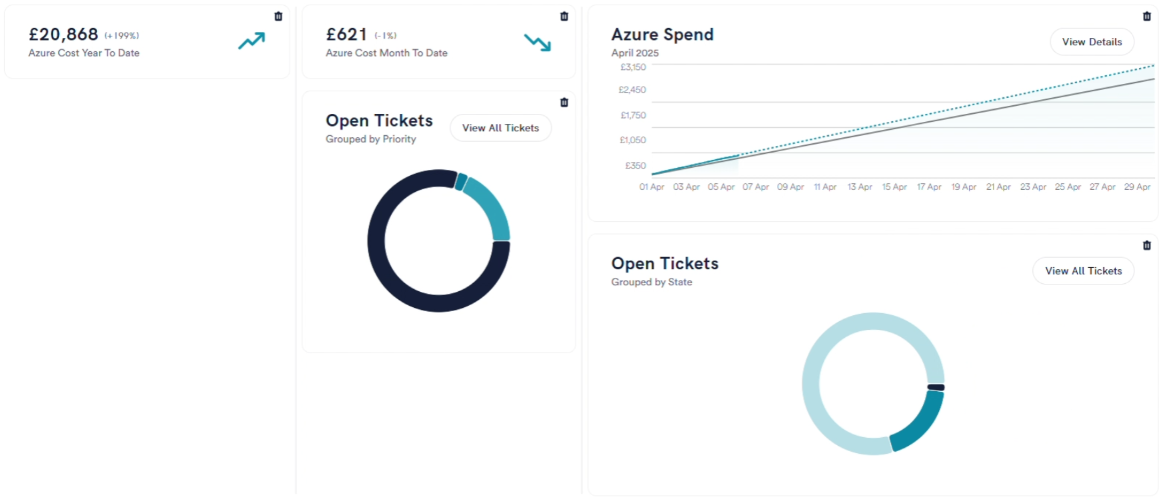
- Once you have finished customising your dashboard, press the 'Lock' button to save and exit configuration mode.
Dashboard Customisation Options in Configuration Mode
Adding a New Tile
- Hover your mouse over an existing tile to add an adjacent tile.
- A '+' (Add) icon will appear. Click the '+' icon.
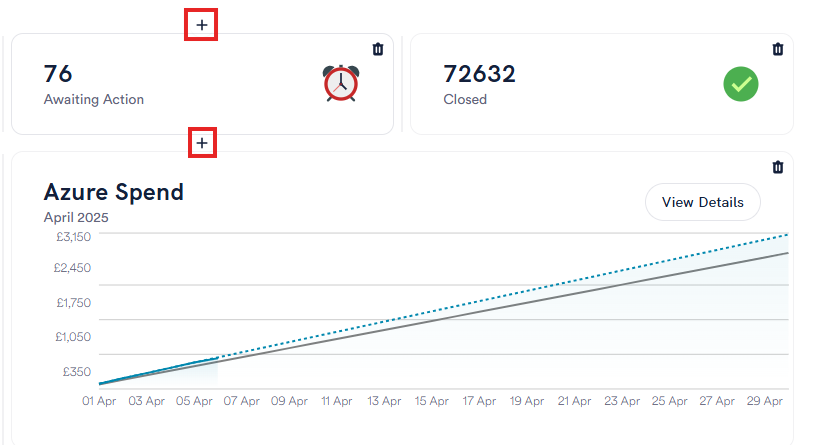
- A dropdown menu will appear with available tiles you can add.
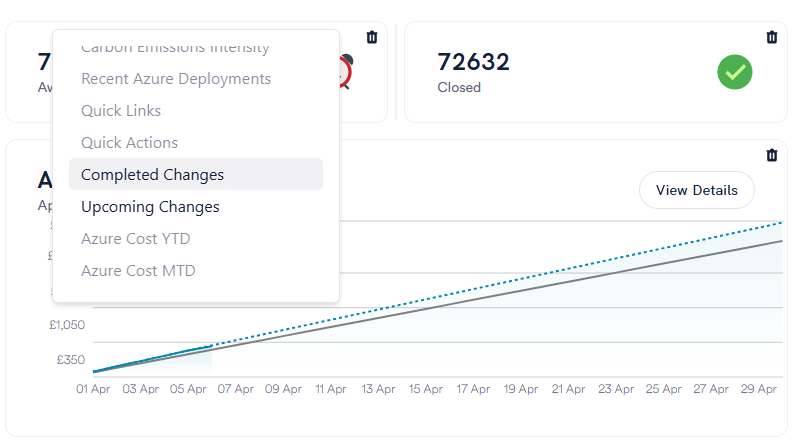
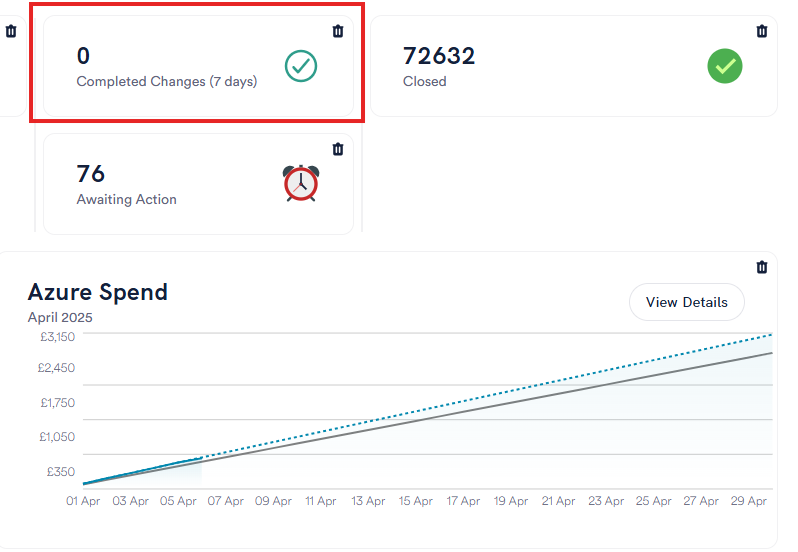
- Select the desired tile from the list. It will be added to the dashboard.
Deleting a Tile
- Find the Delete icon in the top right corner of the tile you wish to remove.
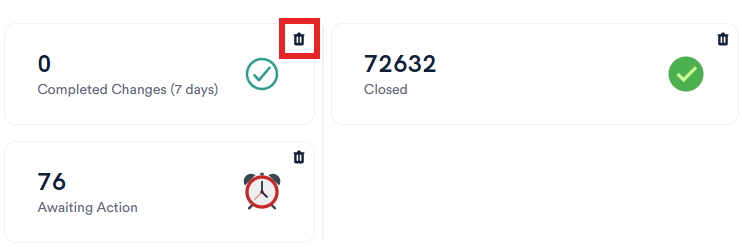
- Click the Delete icon. The tile will be removed.

Resizing a Tile
- Hover your mouse over the greyed out line (left or right edge) between tiles. Your cursor will change into a resize cursor (↔).

- Click and hold the mouse button.
- Drag the edge to the left or right to make the tile narrower or wider.

- Release the mouse button when the tile is the desired size.
Moving a Tile
- Click and hold the mouse button on the tile you want to move. An icon will appear to show it is being moved.
- Drag the tile to an empty space on the dashboard grid where you want to place it.
- Release the mouse button. The tile will snap into the new position.
Swapping Tiles
- Click and hold the mouse button on the tile you want to move. An icon will appear to show it is being moved.
- Drag the tile directly onto another existing tile that you want to swap positions with.

- Release the mouse button. The two tiles will exchange places.
Resetting your Dashboard
If you want to revert your dashboard back to its original default layout:
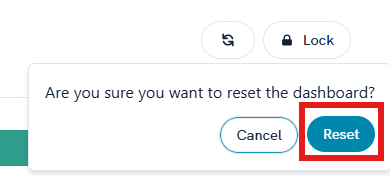
- Locate and click the Reset Layout button (circular arrow icon).
- Click the 'Reset' button when prompted to confirm.
- Your dashboard will return to the default tile arrangement and selection.
Troubleshooting
If the dashboard isn't behaving as you expect (e.g., tiles won't move, icons don't appear), please try the following:
- Ensure you are in Configuration Mode.
- Refresh your browser page.
- Log out and log back into the portal.
If you continue to experience issues, please contact our support team for assistance.